Common Mistakes Made During the Planning and Layout Phase of Drywall Projects
When it comes to drywall work, success starts long before the first sheet is hung. Proper planning and layout are what separate seamless, professional results from cracked seams, wavy walls, and costly callbacks. Unfortunately, many drywall failures can be traced back to errors made at the very beginning of a project.
Here are the most common planning and layout mistakes we see — and how to avoid them.
1. Failing to Check Framing and Surfaces
Drywall is only as straight and stable as the framing it's attached to. If studs are bowed, twisted, or spaced incorrectly, the finished surface will never look right.
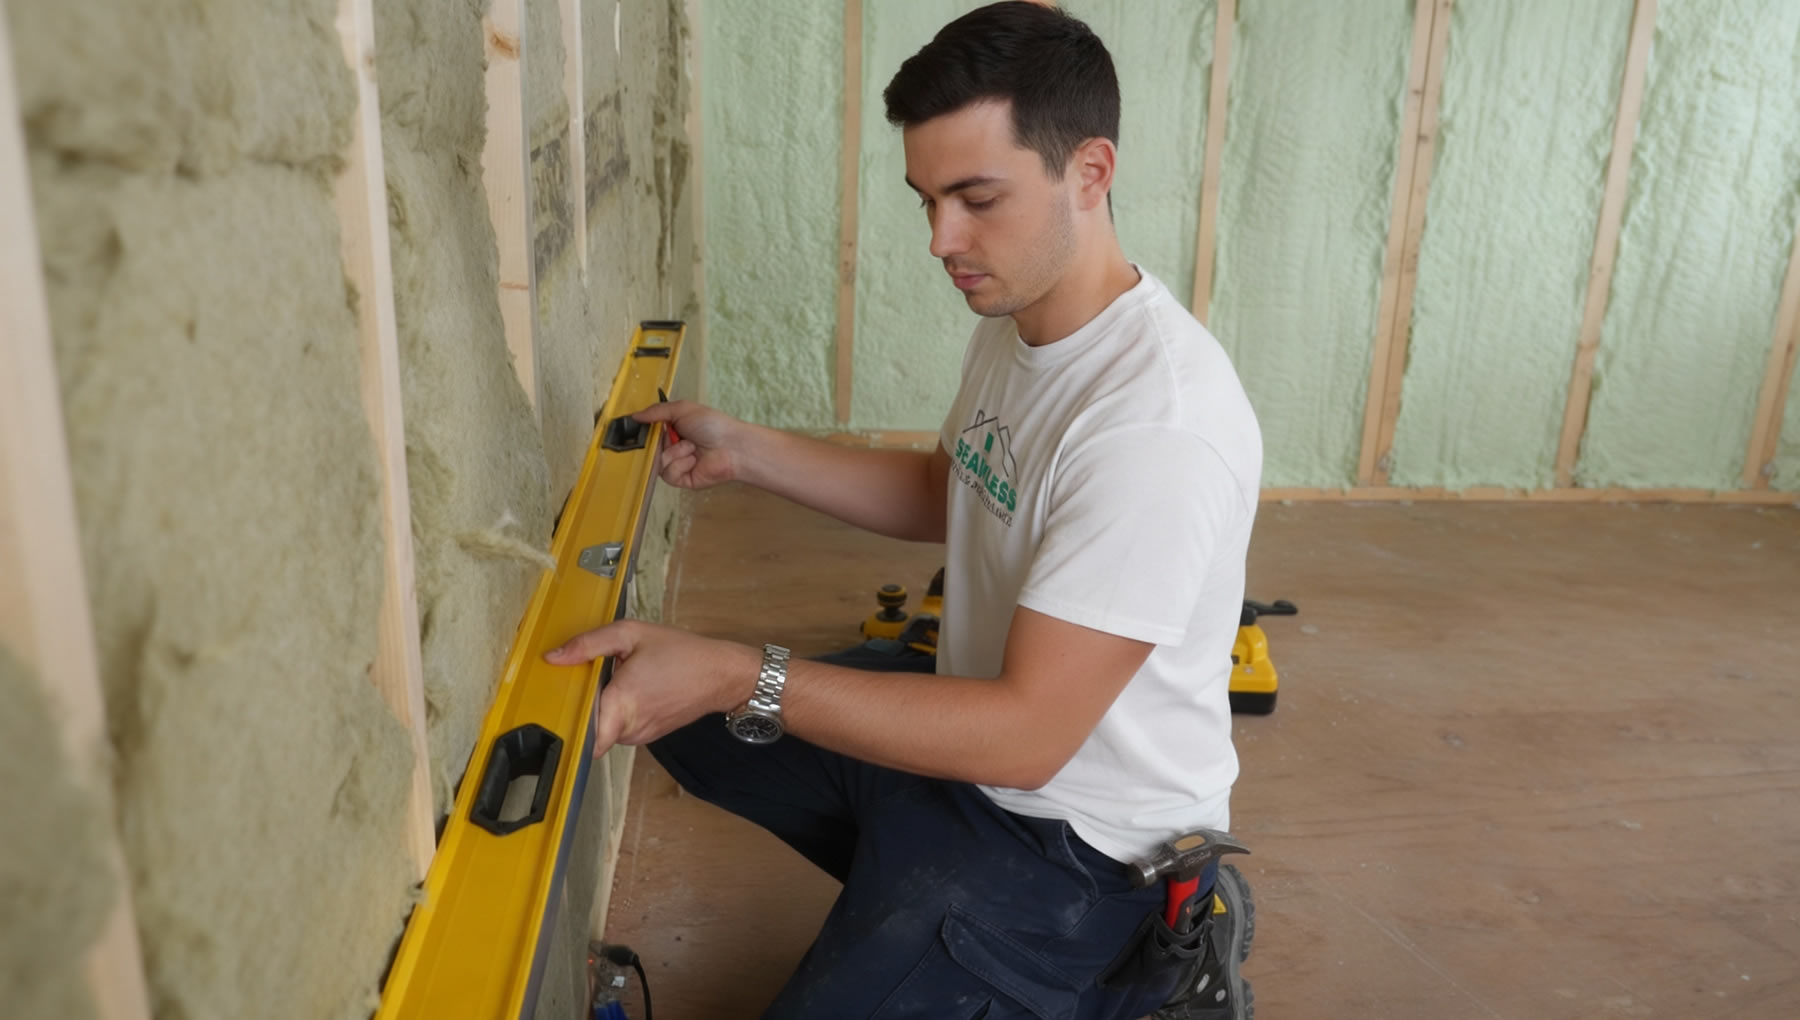
Pro Tip: Always run a quick check before starting. Use a long level or straightedge to spot uneven studs, also make sure opening align properly (not really for drywall, but your finish carpenters will thank you) and make corrections before hanging drywall. Correcting bad framing now saves hours of frustration later.
2. Incorrect Drywall Selection
Not all drywall is the same. Using the wrong type for the job often leads to premature failures. For example:
- Ceilings: 3/8" board can sag; use 1/2", if ceiling supports are 24" on center, you might consider 5/8" drywall.
- Bathrooms: Standard drywall invites mold; use moisture-resistant or non drywall solutions, like cement board.
- Fire-rated areas: Skipping fire-rated drywall is both unsafe and a code violation.
Pro Tip: Match the drywall to the space. It may cost slightly more upfront, but it prevents headaches (and costly do-overs) later.
3. Poor Layout Planning
Where and how drywall seams fall makes a big difference. Too many seams in one area, or "four-way" seams where four boards meet, increase the risk of cracking and uneven finishes.
Pro Tip: Plan your layout like a puzzle. Stagger seams so they don't line up vertically or horizontally, and always aim to minimize the number of joints in high-traffic or high-stress areas.
4. Seams Aligned with Openings
This is one of the most common — and costly — mistakes. Placing seams directly at the edge of doors or windows almost guarantees cracks. These areas experience natural stress, and drywall joints simply can't withstand it.
The solution? Cut sheets in an "L" shape so that joints don't terminate at the corners of openings. It takes a little more time to cut and fit, but it prevents joint failure and keeps walls looking flawless.
Pro Tip: Always shift seams away from door and window edges. If you see a joint lining up with an opening, re-cut before hanging. You'll thank yourself later.
Conclusion
The planning and layout stage sets the tone for the entire drywall project. Skipping framing checks, using the wrong board, stacking seams, or aligning joints with openings are all mistakes that create long-term problems.
Take the time to plan correctly, and you'll save money, avoid cracks, and deliver a result that looks great for years to come.
At Seamless Walls & Ceilings, we believe success starts with preparation. Our team follows proven layout practices on every job to make sure the final product lives up to its name — seamless.