Common Drywall Mistakes to Avoid
Drywall installation and finishing can make or break the look of any interior space. When it's done right, walls look seamless, smooth, and professional. But when it's done wrong, even the best paint job can't hide the flaws. Mistakes in layout, fastening, or finishing often lead to cracks, visible seams, screw pops, or costly repairs down the road.
The good news is that most drywall problems are avoidable with proper planning, technique, and patience. Below, we'll outline the most common mistakes we see on drywall jobs — and how you can avoid them.
I. Planning & Layout Mistakes
1. Failing to Check Framing and Surfaces
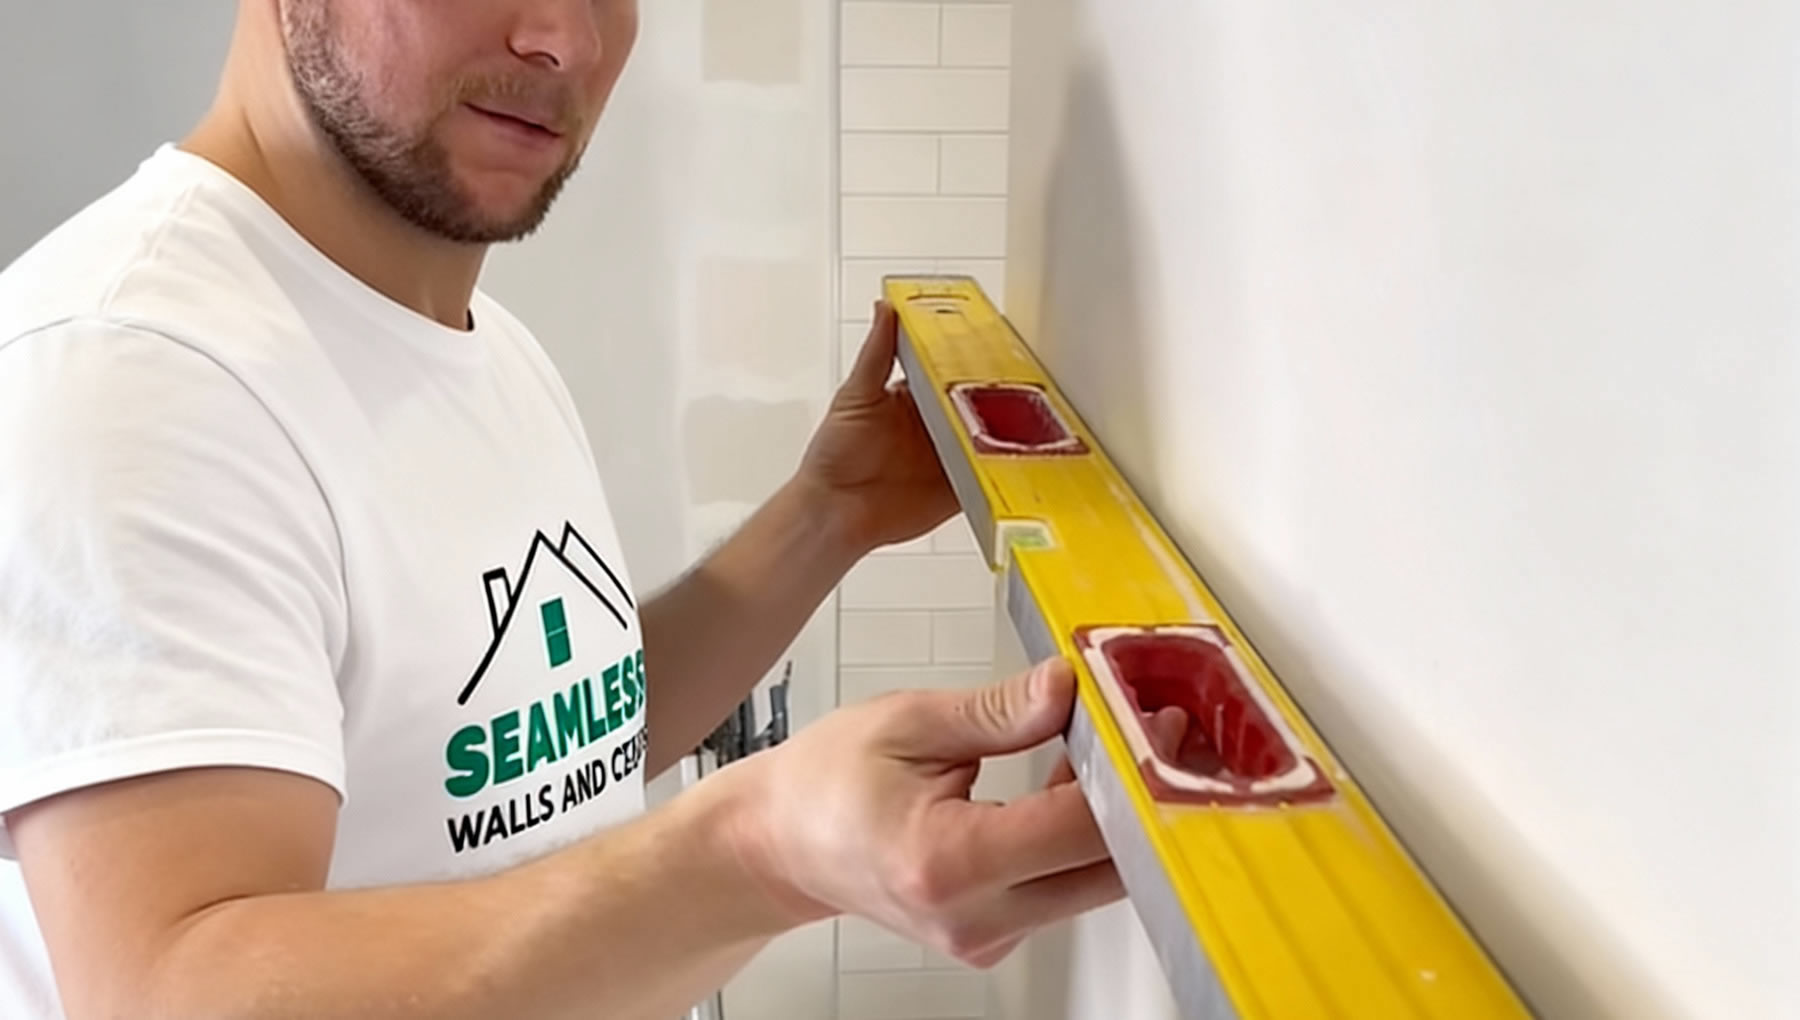
Installing drywall on uneven studs or poorly framed walls almost guarantees trouble. Cracks, waves, and gaps are common when the substrate isn't square and plumb. Always check framing first — studs should be properly spaced, aligned, and secured before a single sheet goes up.
2. Incorrect Drywall Selection
Not all drywall is created equal. Using 1/2-inch board on a ceiling can cause sagging; ignoring moisture-resistant board in bathrooms invites mold; and skipping fire-rated board where code requires it is a serious liability. Always match the drywall thickness and type to the application.
3. Poor Layout Planning
Drywall seams are weakest at corners and intersections. Stacking too many seams together or creating "four-way" joints increases the likelihood of cracking. Plan the layout to stagger joints and minimize seams, especially in high-stress areas.
4. Seams Aligned with Openings
One of the most overlooked planning errors is aligning seams with door or window corners. Joints at these points almost always crack over time due to stress. The solution: cut drywall in an "L" shape so seams don't terminate at the edge of openings. This extra step adds durability and prevents future callbacks.
II. Fastening Errors
1. Improper Screw Placement
Screws driven too close to the edge (or spaced too far apart) weaken the drywall. Standard practice is one screw every 12 inches along studs and no closer than 3/8 inch from edges. This ensures stability without breaking the paper face.
2. Over-Driving Screws
Driving screws too deep breaks the paper, leaving weak spots that are hard to patch. Instead, aim for just below the surface without tearing the paper. If you over-drive, don't back it out — simply drive another screw nearby for proper hold.
3. Not Using Adhesive (Glue)
While screws are essential, adding construction adhesive along studs significantly improves stability. Adhesive reduces movement in the panel, minimizes screw pops, and creates a stronger overall bond between drywall and framing.
4. Inconsistent Fastening Tools
Using a standard drill often leads to inconsistent screw depth. For best results, use a drywall screw gun with a depth-setting nosepiece. It ensures each fastener is driven just right — flush and consistent, without breaking the face paper.
III. Joint Treatment Issues
1. Skipping the Prefill Step
Gaps larger than 1/8 inch should never be left empty. Without prefilling, tape won't adhere properly and will bubble or fail. Always fill gaps with a setting-type compound before embedding tape.
2. Incorrect Tape Application
Dry taping, poor embedding, or using mesh where paper tape is required leads to weak joints. Paper tape should always be fully embedded in compound. Reserve mesh tape for repairs and areas with setting compound.
3. Using Too Much or Too Little Compound
More mud isn't better. Heavy coats shrink, crack, and require excessive sanding. Too little, and tape will show through. Apply thin, even coats, feather edges wide, and sand between applications.
4. Not Scraping and Sanding Between Coats / Poor Final Sanding
Skipping cleanup between coats or relying only on rough sanding leaves visible ridges and flaws. The fix: scrape between coats to knock down ridges, then finish with proper sanding. For the best results, use power sanders attached to vacuums, appropriate grit paper, and specialized corner sanders to achieve a smooth, professional surface.
IV. Finishing & Painting Problems
1. Rushing the Process
Drywall compound needs time to dry and cure. Rushing leads to soft joints, cracking, or peeling paint. Follow manufacturer recommendations — patience pays off in long-term results.
2. Inadequate Surface Preparation
Dust is the enemy of paint. Failing to clean drywall thoroughly before priming causes poor adhesion and flashing. Always vacuum or wipe walls with a damp cloth before priming.
3. Skipping Primer or Using the Wrong Primer
Raw drywall and compound absorb paint unevenly, resulting in blotches. Always use a high-quality drywall primer to create a uniform surface. For smoke or water stains, use a stain-blocking primer to ensure the finish coat stays flawless.
4. Texture Mismatch
Repairs that don't blend stand out immediately. Achieving consistent texture takes practice, whether with spray equipment or hand tools. In some cases, skimming and retexturing the entire surface may be the only way to ensure uniformity.
V. Environmental & Safety Oversights
1. Ignoring Temperature and Humidity
Drywall compound is sensitive to environment. Extreme heat, cold, or humidity causes cracking, poor adhesion, or mold. Keep jobsites stable — ideally 50–70°F with moderate humidity — for best results.
2. Neglecting Dust Control and PPE
Sanding without dust containment coats everything in fine powder and puts health at risk. Use dust-control sanding systems, attach power sanders to vacuums, and wear a respirator to protect workers and occupants.
Conclusion
Drywall work is all about details. From proper planning and fastening to careful taping, sanding, and finishing, each step matters. Cutting corners or rushing the process almost always leads to visible flaws and callbacks.
If you want walls that look flawless and stand the test of time, take the time to do it right — or work with professionals who know how to avoid these mistakes. At Seamless Walls & Ceilings, we follow proven best practices to deliver results that last.